

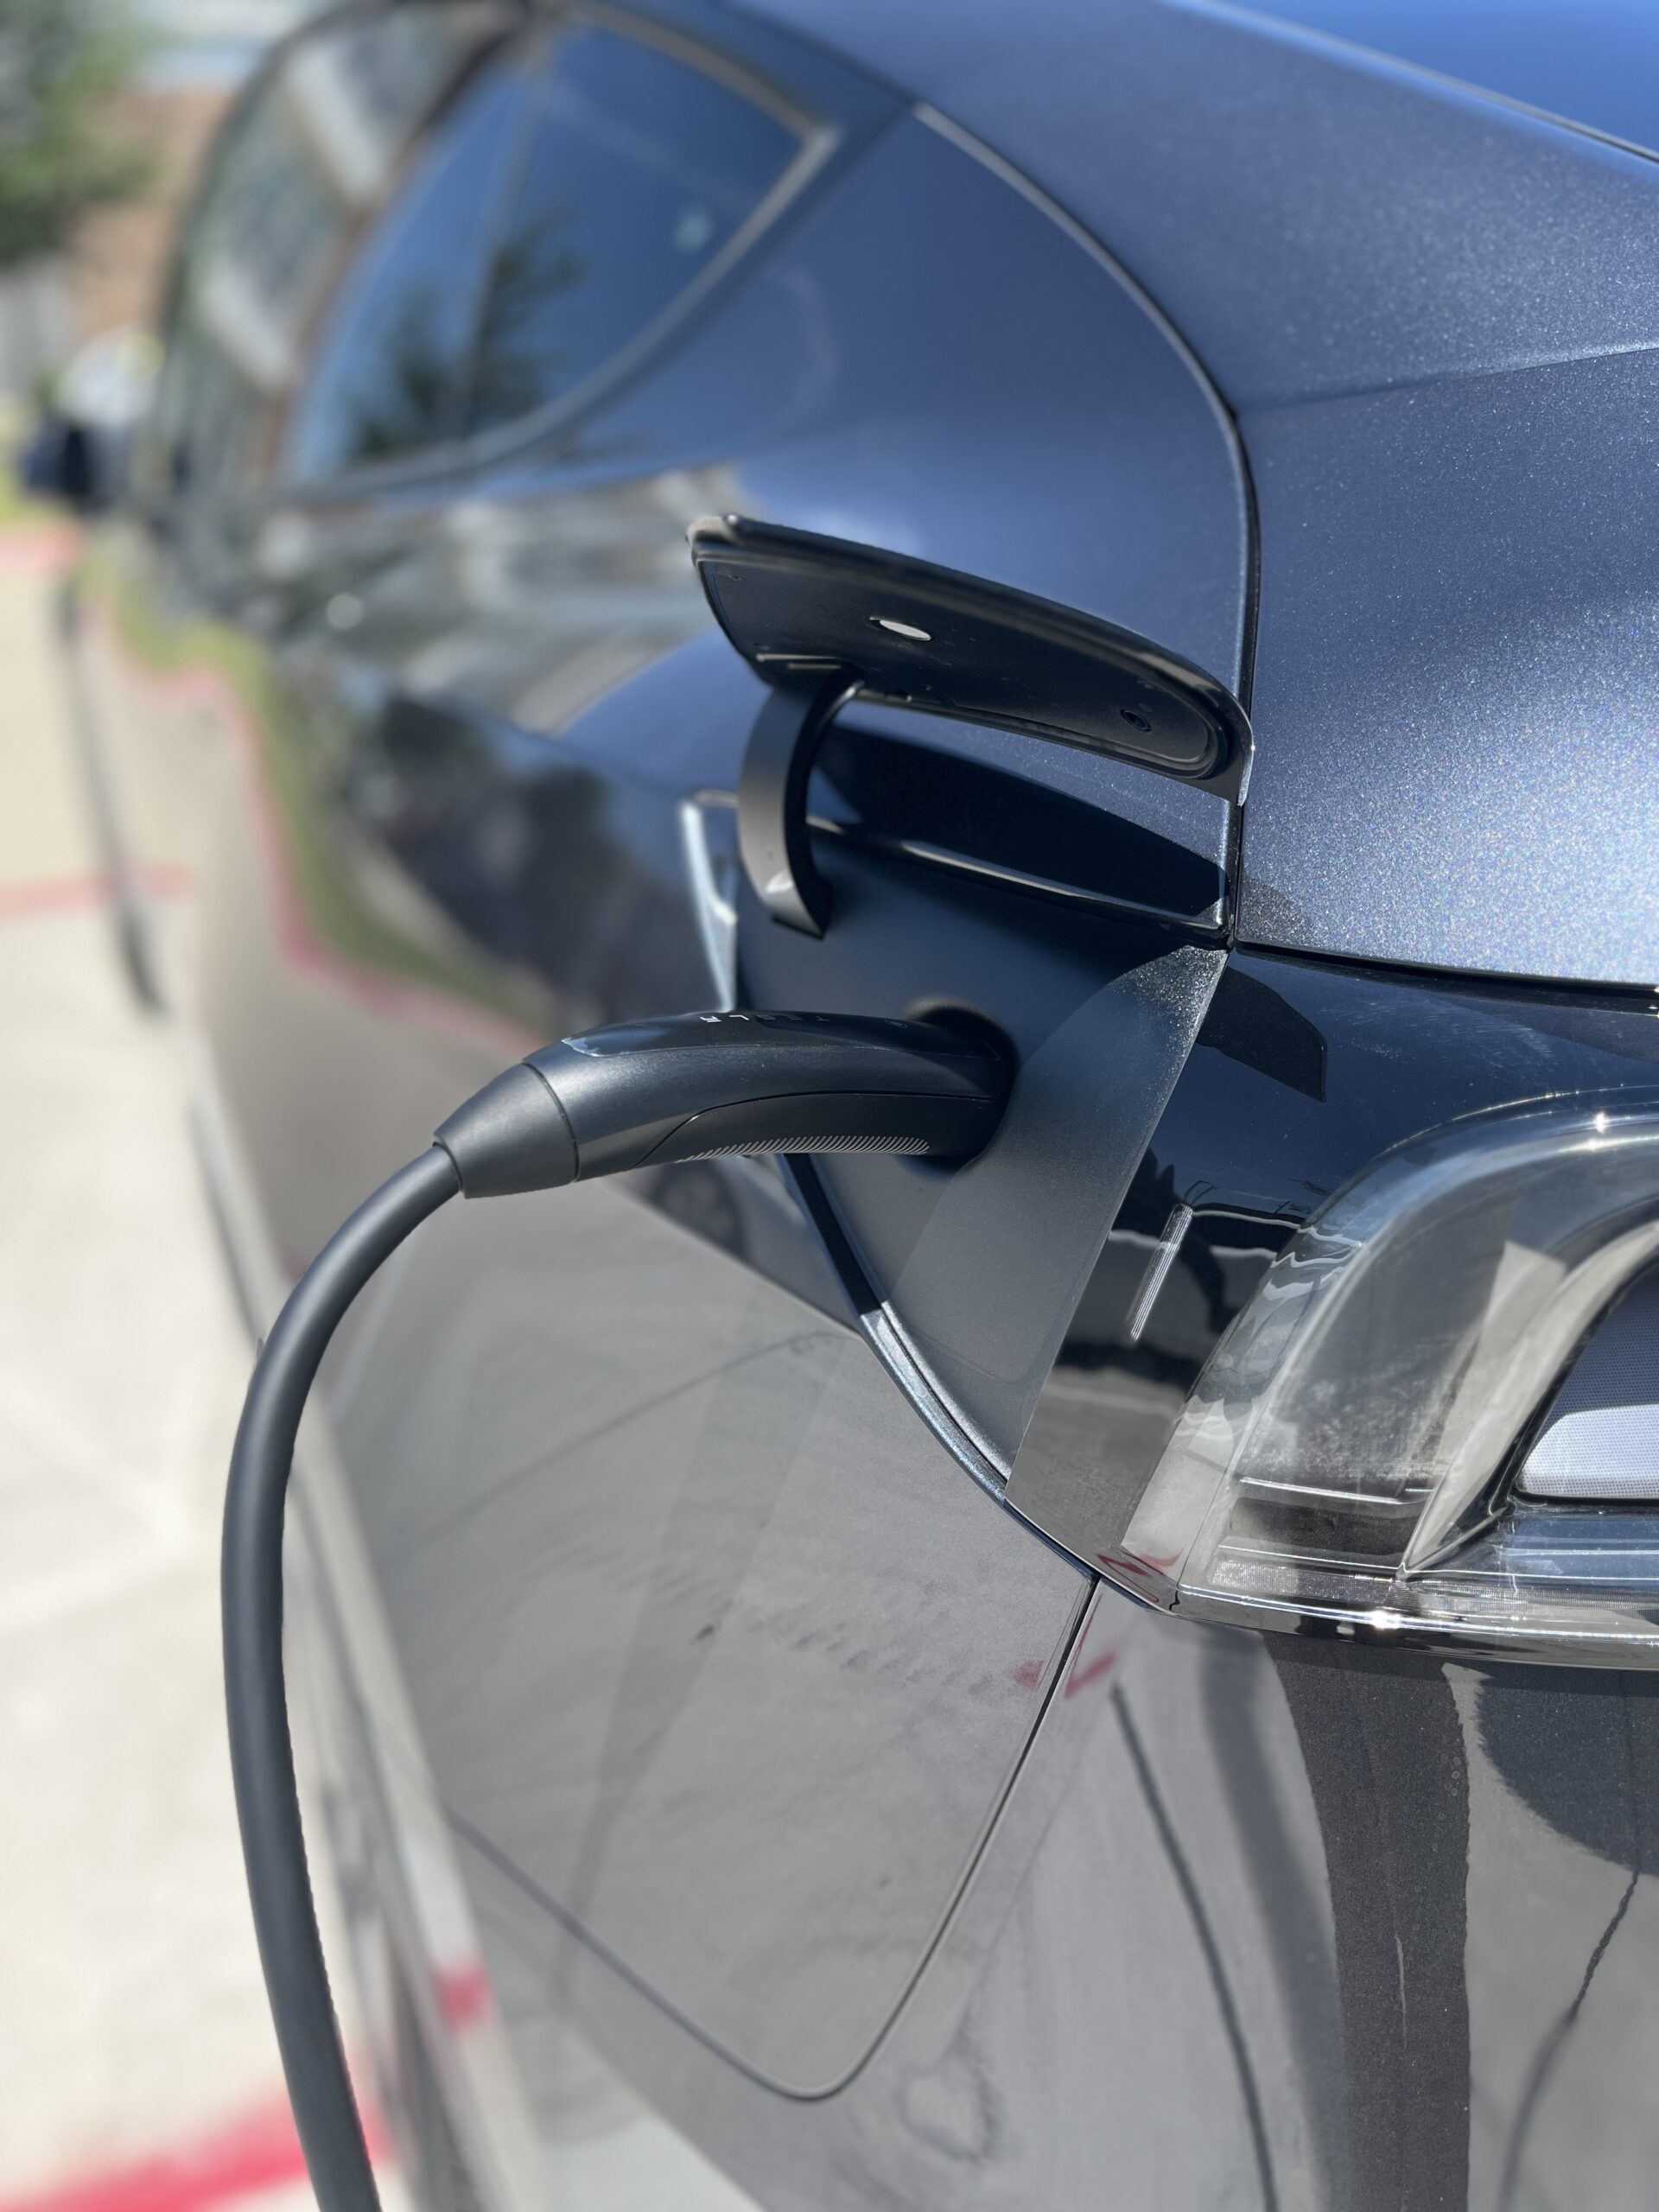
A Practical Guide to Installing an EV Charger in Your Garage
Electric vehicles are showing up in more Clermont driveways every year, and most owners learn quickly that a standard wall outlet cannot keep up with daily driving. A Level 2 charger mounted in the garage solves that problem by cutting charge times from days down to hours, but it also introduces a heavy electrical load that your home may or may not be ready to carry. Installing an EV charger is nothing like adding an outlet for a garage freezer; the equipment pulls significant current for hours at a stretch, and the National Electrical Code classifies it as a continuous load with its own dedicated rules. Homeowners who understand the fundamentals before the first quote arrives make far better decisions about equipment, placement, and budget. This guide walks through panel capacity, charger levels, permitting in Lake County, wiring routes, mounting heights, and the storm protection that matters so much in Central Florida. September is a sensible month to tackle the project, since hurricane season is at its peak and a new garage circuit deserves the same surge protection as everything else in the house. By the time you finish reading, you will know what a correct installation looks like and exactly what to ask before anyone starts drilling into your wall.
What to Know Before Installing an EV Charger in Your Garage
Every successful EV charger installation starts with an honest look at the electrical system already in place. Your service size, your available breaker spaces, your existing loads, and the distance from the panel to the parking spot all shape the final design and the final price. Homes built in Clermont, Minneola, and Groveland over the last twenty years often have 200 amp services with room to spare, while older homes around Lake County may still be running 100 amp equipment that was never intended to feed a car. Charger selection matters just as much, because the unit you buy determines the breaker size, the conductor size, and the amount of range you gain per hour of charging. Florida also requires permitting and inspection for new branch circuits, which protects you and preserves your homeowners insurance coverage. Getting these three pieces right, meaning capacity, equipment, and code compliance, prevents almost every problem that shows up later.
Sizing Your Electrical Panel for an EV Charger Installation
Load calculation is the first real step in any EV charger installation, and it is the step homeowners most often skip. A licensed electrician performs a calculation under Article 220 of the National Electrical Code that accounts for the square footage of the home, the heating and cooling equipment, the range, the dryer, the water heater, and every other fixed appliance already connected. The charger is then added as a continuous load, which means the circuit and breaker must be rated at a minimum of 125 percent of the charger’s maximum output. A charger set to draw 32 amps therefore requires a 40 amp circuit, and a charger set to draw 48 amps requires a 60 amp circuit. If the calculation shows your 200 amp service has headroom, the job is straightforward and usually finishes in a single visit. If the numbers come back tight, you still have good options, and none of them involve guessing.
Panel space is a separate question from panel capacity, and both have to work out before the charger goes on the wall. A 240 volt circuit consumes two adjacent breaker spaces, so a panel that is already full needs either tandem breakers where the manufacturer allows them, a subpanel, or a full replacement. Many Central Florida homes have panels stuffed with pool equipment, water softeners, and added circuits from previous remodels, which leaves nothing for a car charger. Homeowners with 100 amp services frequently discover that a service upgrade is the cleanest path forward, since it solves the charger problem and creates room for future additions at the same time. If your panel is aging, corroded, or made by a manufacturer with a known failure history, replacing it during the charger project saves you a second round of labor. Need more capacity before your charger goes in? Click here for our electrical panel upgrade service.
There is a third path that many homeowners never hear about, and it is worth understanding before you commit to a service upgrade. Energy management systems, permitted under Article 750 and referenced in Article 625, monitor the total load on your service and automatically reduce or pause charging when the house is drawing heavily. A device like this can allow a 40 amp charger circuit on a service that would otherwise fail the load calculation, because the system guarantees the total demand never exceeds the rating. Some chargers include this functionality internally, while others require a separate meter mounted at the service entrance. The right answer depends on your driving habits, your service size, and how much you are willing to spend up front versus over time. An experienced electrician will lay out both approaches with real numbers so you can weigh a smaller charger against a larger service.
Choosing the Right EV Charger Level for Your Garage
Level 1 charging uses the cord that came in the trunk of the car and plugs into an ordinary 120 volt outlet, drawing roughly 12 amps and adding somewhere between three and five miles of range per hour. That rate works for a plug in hybrid or for a commuter who drives fifteen miles a day and parks overnight for twelve hours. It falls apart quickly for anyone with a longer commute, a larger battery, or a household that shares one vehicle across multiple drivers. Level 1 also has a hidden cost, because most garage receptacles sit on a shared circuit with the door opener, the freezer, and the workbench outlets. Running a car charger on a shared circuit for eight straight hours is exactly the condition that overheats connections and trips breakers. If Level 1 is your plan, at minimum you want a dedicated circuit serving that single outlet.
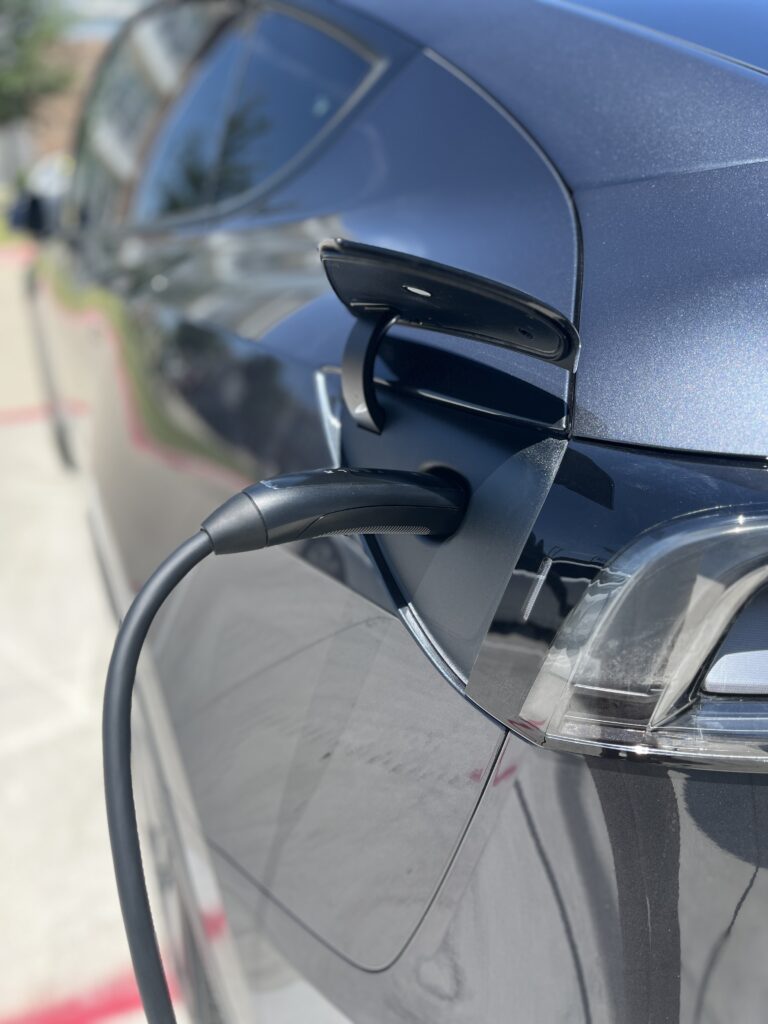
Level 2 charging is what most drivers actually want in a garage, and it operates on 240 volts at anywhere from 16 to 48 amps depending on the unit and the circuit behind it. A typical 40 amp charger on a 50 amp circuit delivers roughly 25 to 30 miles of range per hour, which refills almost any daily commute during dinner. A 48 amp charger on a 60 amp circuit pushes that number higher, though the vehicle’s onboard charger sets the real ceiling, and many models cap acceptance well below what the equipment can supply. Buying a 48 amp charger for a car that accepts 32 amps spends money on capability you will never use. Check the vehicle’s onboard charger rating first, then select equipment that matches it, and size the circuit around the equipment. DC fast charging, the kind found at highway stations, is commercial three phase equipment and is not installed in residential garages.
The final equipment decision is between a hardwired charger and one that plugs into a 240 volt receptacle, and each has real advantages. A plug in unit using a NEMA 14 50 receptacle is simple to swap out and easy to take with you in a move, but the code requires ground fault protection for that receptacle, and the charger’s own internal protection can occasionally conflict with the breaker and cause nuisance trips. Hardwiring eliminates the receptacle entirely, removes a potential heat point at the plug blades, and is mandatory for units drawing more than 48 amps. Cheap receptacles are a well documented failure point in EV charging, and any plug in installation deserves a commercial grade device rated for continuous duty. The code also limits the charger’s output cable to 25 feet, so the mounting location has to work with the length of the cord and the position of your car’s charge port. Ready to move forward with the right equipment? Click here for our EV charger installation service.
Permits and Code Rules for EV Charger Installation in Florida
Florida adopts the National Electrical Code through the Florida Building Code, and adding a new 240 volt branch circuit for an EV charger requires a permit in Clermont and throughout Lake County. The permit process exists to put a second set of eyes on the work, and the inspector verifies conductor sizing, breaker selection, grounding, mounting height, and equipment listing. Skipping the permit creates problems that surface at the worst possible times, including at closing when a buyer’s inspector finds unpermitted work in the panel. Insurance carriers have also denied claims tied to electrical fires traced back to unpermitted circuits. A licensed electrician pulls the permit as part of the job and meets the inspector, so the paperwork never becomes your responsibility. The cost is modest compared to the value of a clean record on your property.
Several specific code provisions govern EV charging equipment, and they exist because of how this load behaves. Article 625 covers electric vehicle power transfer systems and establishes the continuous load requirement, the ground fault protection rules for receptacles serving charging equipment, and the cable length limits already mentioned. Mounting height is also regulated, with indoor equipment required to sit no lower than 18 inches above the floor and outdoor equipment no lower than 24 inches above grade. Those heights protect the equipment from standing water, which is a genuine concern in a Florida garage during a heavy summer storm. The charger itself must be listed for the purpose by a recognized testing laboratory, which rules out the uncertified imports that show up on marketplace listings. Any electrician who cannot cite the reason for a given installation choice is not the electrician you want in your panel.
Utility considerations round out the compliance picture. Duke Energy serves much of Lake County, and utilities across Florida periodically offer rebates, off peak charging rates, or managed charging programs that lower the cost of ownership over time. Programs change from year to year, so it is worth calling your provider before the installation rather than after, since some incentives require preapproval or specific equipment. Off peak rate plans can meaningfully reduce your charging cost if your charger supports scheduled start times, and most connected units do. Your electrician can configure the schedule during commissioning so the car begins charging automatically when rates drop. Combining a properly sized circuit with a smart rate plan is where the real long term savings come from.
How the EV Charger Installation Process Works in a Garage
A professional EV charger installation follows a predictable sequence, and knowing that sequence helps you plan around the work. The electrician confirms the load calculation, selects the circuit and conductors, plans the route from the panel to the mounting location, installs the breaker and wiring, mounts and terminates the charger, tests everything, and schedules the inspection. Most single day installations in Clermont area homes take between three and six hours, with longer runs and finished walls adding time. Garage panels are common in Florida construction, and a short run from the panel to the opposite garage wall is the ideal scenario. Homes with the panel on an exterior wall far from the parking bay require more conduit, more labor, and closer attention to voltage drop. The steps below explain what actually happens during each phase.
Planning the EV Charger Circuit and Garage Wiring Route
Conductor sizing follows directly from the breaker size, and the material matters as much as the gauge. A 50 amp circuit typically calls for 6 AWG copper conductors, while a 40 amp circuit uses 8 AWG copper, with adjustments made for temperature rating, conduit fill, and ambient conditions in an unconditioned Florida attic. Aluminum conductors are permitted at larger sizes and can lower material cost on long runs, though they require the correct terminations, antioxidant compound, and torque values to remain safe over decades. Distance introduces voltage drop, and a run exceeding roughly 100 feet often warrants upsizing the conductors one step to keep the charger operating efficiently. Undersized wire on a long run does not simply charge more slowly; it generates heat inside the walls where nobody can see it. This is precisely the calculation that gets skipped in unpermitted work, and it is a leading cause of failures in the field.
The physical route determines how much of the work is visible and how long it takes. In a garage with unfinished walls or exposed block, the cleanest approach is surface mounted metal conduit running from the panel to the charger location, which is durable, code compliant, and simple to modify later. Finished drywall gives you two choices, meaning a concealed fish through the wall cavity and attic space or a surface conduit run that costs less and takes less time. Attic routes in Central Florida get extremely hot, which affects conductor ampacity and requires the electrician to derate accordingly. Crossing a garage door opening, dealing with fire rated separation walls between the garage and living space, and navigating existing insulation all add complexity. Walking the route with your electrician before work begins prevents surprises about where the conduit will end up.
Mounting location deserves more thought than most homeowners give it, and it is genuinely difficult to change after the fact. Start by parking the car exactly where it normally sits, then locate the charge port, since ports appear on the front left, front right, rear left, and rear quarter panel depending on the manufacturer. Measure from that port to the proposed charger position and confirm the cable reaches comfortably without stretching across a walkway or lying on the floor. Consider future vehicles too, because the next car in that spot may have the port on the opposite side. Many homeowners choose a position near the center of the garage wall to accommodate either orientation, and some install the charger where it can serve a second bay or reach a vehicle parked in the driveway. Leave clearance around the unit for airflow and for the cable management holster that keeps the cord off the concrete.
Mounting the EV Charger and Finishing the Garage Installation
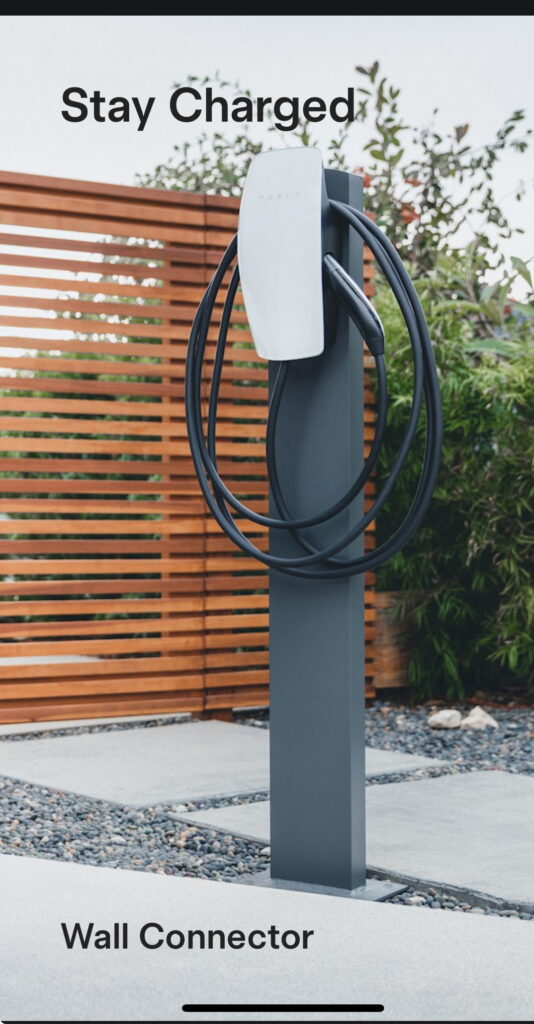
Physical mounting starts with locating solid backing, since a charger with a heavy cable assembly should never hang on drywall anchors alone. The electrician fastens the bracket to framing members or uses appropriate masonry anchors on block walls, then sets the unit at a height between 18 inches and 4 feet above the floor for indoor installations. That range keeps the equipment out of potential standing water while leaving the display and connector at a comfortable working height. Outdoor installations move the minimum height to 24 inches above grade and require equipment rated for wet locations, which matters for driveway mounting under a Florida summer sky. Terminations inside the unit are torqued to the manufacturer’s specification with a calibrated torque screwdriver, because loose connections generate heat and tight connections crack lugs. This detail is invisible after the cover goes on, and it separates a professional installation from an amateur one.
Once the charger is mounted and terminated, the circuit gets energized and tested. The breaker is installed in the panel, the circuit is labeled clearly on the directory, and the electrician verifies voltage, polarity, and grounding at the equipment. Many chargers require a configuration step during commissioning where the installer sets the maximum output current to match the circuit that feeds it. Setting a charger to 48 amps on a 40 amp circuit will cause repeated breaker trips at best and dangerous overheating at worst, and this setting is done through an app, a rotary switch, or a menu depending on the model. The electrician then runs a full charging cycle with your vehicle connected to confirm the handshake between the car and the equipment completes normally. Testing with the actual car matters, because certain vehicle and charger combinations behave differently than the documentation suggests.
The final phase covers configuration and inspection, and it is the part that turns a working charger into a genuinely useful one. Connected units join your home network so you can schedule charging around off peak utility rates, monitor energy usage per session, and receive alerts if a charge fails overnight. Households tracking charging costs for business mileage or reimbursement will want that data logging enabled from day one. The permit inspection typically happens within a few days of completion, and the electrician handles scheduling and meets the inspector on site. Keep the inspection record and the equipment documentation together with your home files, since a future buyer or insurance adjuster may ask for both. A correctly permitted, correctly labeled charger is an asset that shows up in your home’s value.
Protecting Your EV Charger Installation From Florida Storms
Central Florida records more lightning strikes per square mile than anywhere else in the continental United States, and Lake County sits in the heart of that corridor. Direct strikes are dramatic, but the far more common damage comes from induced surges that travel through utility lines and destroy sensitive electronics without any visible sign. EV charging equipment contains circuit boards, communication modules, and relays that are every bit as vulnerable as a television or a computer. Replacing a damaged charger is expensive, and the outage leaves you without a way to refill the car at home. September and October remain active months for storms in Florida, which makes this the right season to address surge protection alongside a new charger circuit. A layered approach handles the problem properly.
The foundation of that protection is a whole house surge protective device installed at the service panel, which clamps voltage spikes before they reach any branch circuit. Type 1 devices install ahead of the main breaker at the meter, while Type 2 devices mount at the panel and are the more common residential choice. Either way, the device diverts excess energy to ground and sacrifices itself over time, so quality units include an indicator light or app alert showing they remain functional. Point of use protection at individual sensitive loads adds a second layer, though the charger itself is generally protected best at the panel. Grounding and bonding must be intact for any surge device to work, which is another reason a full panel evaluation belongs in the scope of an EV charger project. Protect your new charger and everything else in the house. Click here for our whole house surge protector service.
Outages introduce a separate consideration for EV owners in hurricane country. A car with a full battery is a genuine asset during a storm, so charging ahead of an approaching system is simply good planning. Homeowners with standby generators need to understand that a Level 2 charger represents one of the largest loads in the house, and running it on generator power requires either a generator sized to handle it or a transfer switch configuration that excludes the charger circuit. Attempting to charge at full output on an undersized generator overloads the unit and can damage both the generator and the vehicle’s charging system. Some chargers allow the output current to be reduced temporarily, which makes limited generator charging possible in specific setups. Discuss your generator plans with your electrician during the charger installation so the two systems are coordinated from the start.
Why You Need a Licensed Electrician for EV Charger Installation
An EV charger is the largest continuous load most homes will ever add, and it runs unattended for hours while your family sleeps twenty feet away. The margin for error on conductor sizing, terminations, and overcurrent protection is thin, and mistakes announce themselves months later as heat damage rather than immediately as a failure. Licensed electricians carry insurance, pull permits, understand the code provisions that apply, and stand behind the work with a warranty. They also bring the load calculation and the panel evaluation that determine what your home can actually support. Hiring correctly the first time costs less than correcting an improvised installation after an inspector or an insurance adjuster gets involved.
Safety Risks of a DIY EV Charger Installation
The most common failure in a homeowner installed charger circuit is undersized conductors feeding an oversized breaker, which removes the protection the breaker was supposed to provide. Wire that runs hot for hours every night degrades its insulation gradually until it faults inside a wall cavity or an attic. The second most common failure is a loose termination at the breaker, the receptacle, or the charger itself, and loose connections in a 240 volt circuit arc and generate serious heat. Inexpensive receptacles rated for occasional use rather than continuous duty have a documented history of melting under EV charging loads. None of these conditions are visible from outside the wall, and none of them announce themselves until damage is already done.
The financial exposure extends well beyond safety. Insurance carriers routinely investigate electrical fires, and unpermitted work discovered during that investigation gives the carrier grounds to reduce or deny a claim. Real estate transactions surface the same issue, since an added 240 volt circuit with no permit record becomes a negotiating point or a required correction before closing. Municipalities can also require that unpermitted work be opened up, inspected, and brought into compliance at the owner’s expense. The savings from skipping a permit rarely exceed a few hundred dollars, while the downstream cost can run into the thousands.
There is a warranty dimension that catches people by surprise as well. Most charger manufacturers require professional installation as a condition of warranty coverage, and many request the installer’s license number during product registration. A homeowner installed unit that fails may not be covered, leaving you to replace equipment out of pocket. Vehicle manufacturers have also declined charging system claims when the home circuit was found to be improperly installed. Protecting both warranties is a straightforward reason to bring in a licensed professional from the beginning.

What Professional EV Charger Installation Includes
A complete professional installation begins with an on site evaluation covering the service size, the panel condition, the available breaker spaces, and the existing load on the system. From there the electrician recommends equipment that matches your vehicle’s actual acceptance rate rather than upselling capability you cannot use. You receive a written quote covering the breaker, conductors, conduit, mounting hardware, permit, labor, and inspection, with no vague line items and no surprises at the end. Transparent pricing before work begins is how a reputable contractor operates, and you should expect nothing less.
The installation itself uses materials selected for continuous duty rather than the cheapest option that technically passes. That means commercial grade receptacles on plug in installations, properly rated conduit and fittings, torqued terminations, and clear labeling in the panel directory. The electrician verifies the completed circuit, configures the charger’s output setting to match the circuit, and runs a live charging session with your vehicle to confirm everything communicates correctly. Configuration for scheduled charging and utility rate plans is handled during the same visit.
Follow through is where the value becomes obvious. The permit is pulled before work starts and the inspection is scheduled and attended after completion, so the compliance record on your home stays clean. You get documentation covering the equipment, the circuit specifications, and the inspection result for your files. Workmanship is backed by a warranty, and a call about a problem six months later gets answered by the same company that did the work. That accountability is the real difference between a professional installation and a weekend project.
Why Choose Empowered Electric for Your EV Charger Installation
Empowered Electric is based at 341 Frontage Rd in Clermont, and we install EV charging equipment throughout Lake County and West Orange County, including Minneola, Groveland, Winter Garden, Windermere, Ocoee, Horizon West, Montverde, and Davenport. Our electricians are licensed and insured, and we handle the load calculation, the permit, the installation, and the inspection as one complete package. We use quality materials and proven techniques because a charger circuit runs hard for a decade or more and deserves components built for that duty. Transparent pricing means you see the full scope and the full cost before we start, not after.
We also understand what Central Florida does to electrical systems. Lightning, humidity, and hot attics all affect how a circuit should be designed, and we build installations that account for those conditions instead of ignoring them. Surge protection, grounding verification, and panel evaluation are part of how we approach every charger project. If your service needs an upgrade to support the load, we will tell you honestly and give you the options rather than forcing a single solution.
Electrical problems do not keep business hours, which is why we offer 24/7 emergency service to the communities we serve. Our team shows up when we say we will, explains the work in plain language, and treats your home with respect from the first visit to the final inspection. If you are ready to stop waiting on a wall outlet and start charging at home the right way, we are ready to help. Call Empowered Electric at (352) 814-0058 or email office@empoweredfl.com to schedule your EV charger installation consultation today.