

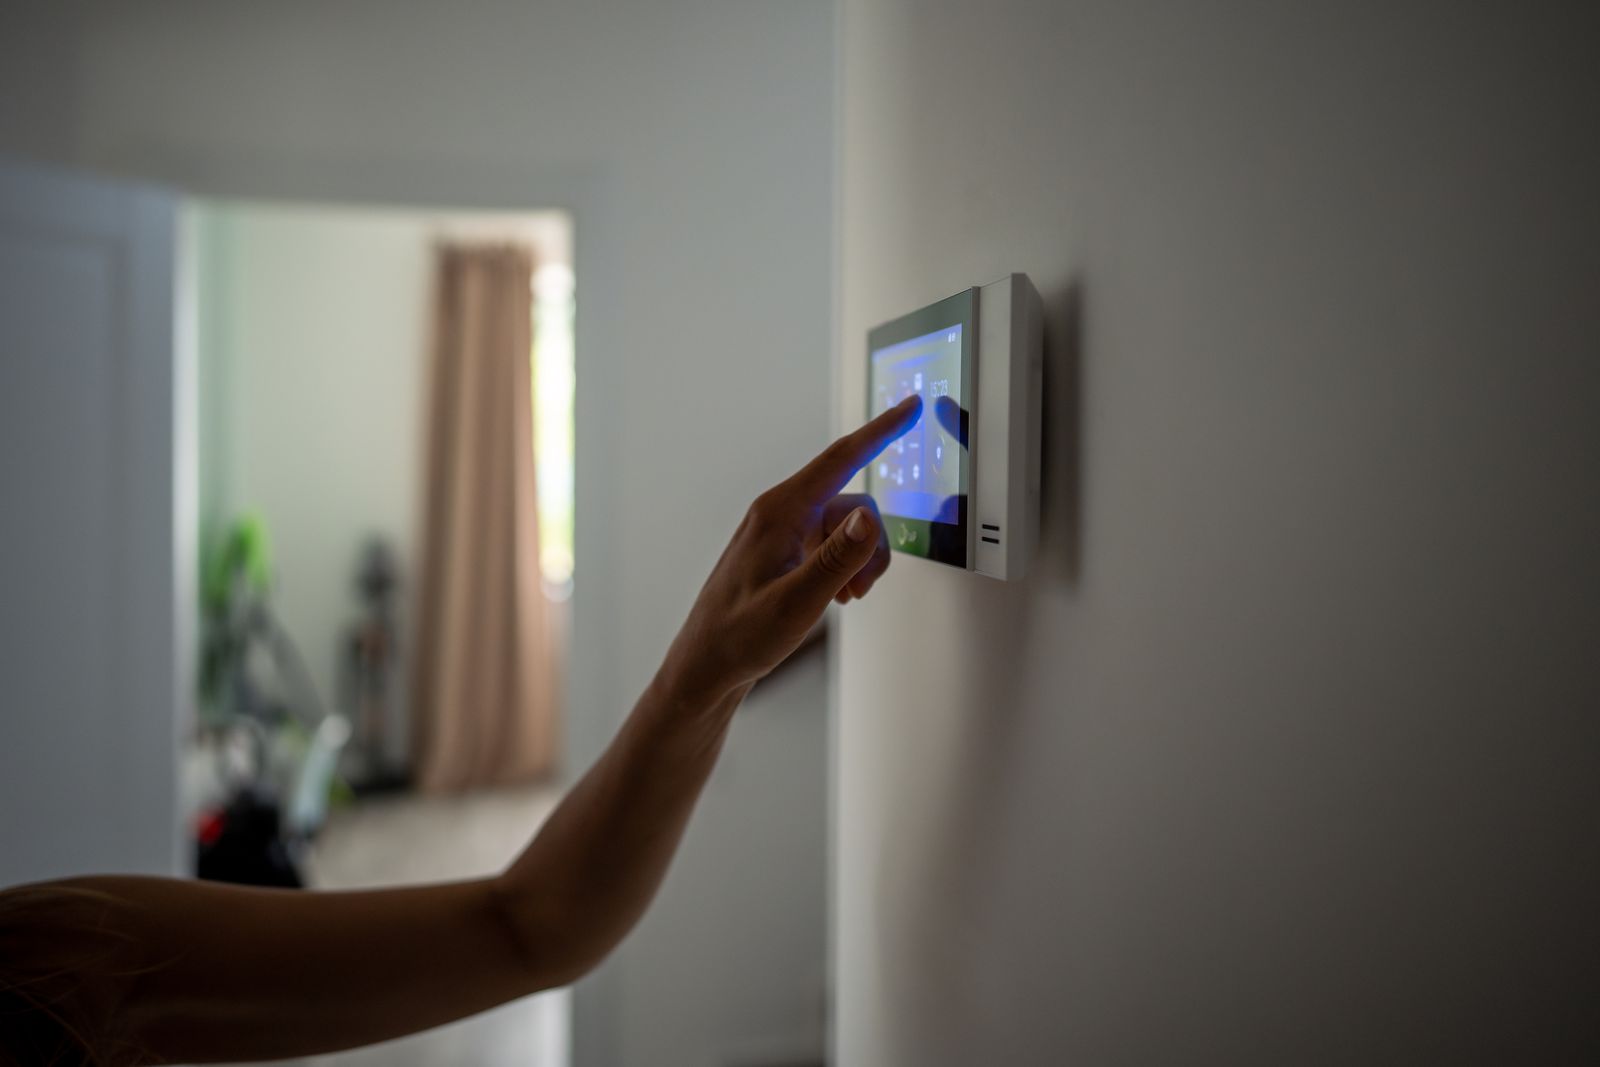
Smart Thermostats and What Your Electrician Wishes You Knew Before Installing One
Smart thermostats promise lower cooling bills, remote control from your phone, and a system that learns your schedule, and in a Central Florida home running the air conditioner nine or ten months out of the year, that promise is worth taking seriously. The problem is that most homeowners buy the thermostat first and think about the wiring second, which is exactly backward. Your existing thermostat runs on low voltage control wiring fed by a transformer inside your air handler, and that wiring was installed for a simple device that only needed power when it called for cooling or heating. A smart thermostat is a small computer with a screen, a WiFi radio, and sensors that stay awake around the clock, so it needs steady power in a way your old unit never did. When that steady power is not available, the thermostat borrows current through the control circuit, and that borrowed current causes short cycling, blown control board fuses, and equipment that behaves strangely for reasons nobody can trace. Add Florida lightning, humid summers, and homes with air handlers tucked into hot garages, and you have a list of failure points that has nothing to do with the brand you bought. Understanding what happens behind the wall plate before you start pulling wires will save you a service call, and possibly a control board.
Smart Thermostat Wiring Basics Every Homeowner Should Understand Before Installation
The wall plate hides the part that actually matters. Behind it sits a bundle of thin conductors, usually 18 gauge, running from the thermostat down to the air handler where a step down transformer converts 120 volts into the 24 volts that operates your system’s relays and contactors. Each colored conductor lands on a lettered terminal, and each letter tells the equipment to do one specific thing. Older homes in Clermont, Groveland, and Minneola were often wired with four or five conductor cable because that was all the original thermostat required, and the installer had no reason to imagine a device that needed continuous power. Smart thermostats changed that requirement completely, and the wiring behind most walls never got the memo. Knowing what you have back there, and what you are missing, is the difference between a thirty minute installation and a week of intermittent cooling problems.
The C Wire Question Behind Almost Every Smart Thermostat Installation
The common wire, usually labeled C on the terminal block, is the return leg of the 24 volt transformer circuit, and it is what allows a smart thermostat to draw continuous power without interrupting the equipment it controls. Older mechanical and basic digital thermostats did not need it because they were nothing more than a temperature sensitive switch that closed a contact when the room got warm, so builders and installers routinely left the common conductor unterminated or never pulled it at all. When you open up a thermostat and find only R, Y, G, and W landed on terminals, you are looking at the single most common obstacle to a clean smart thermostat installation. Sometimes you get lucky and find a spare conductor, often blue or brown, coiled unused inside the wall box or sitting in the air handler doing nothing, and terminating that spare on both ends solves the entire problem in about fifteen minutes. When there is no spare conductor, your realistic options are running new thermostat cable, installing a power extender kit at the air handler, or choosing a thermostat model designed to operate without a common wire. Each of those options carries tradeoffs that a homeowner reading a box in a hardware store aisle has no way to evaluate.
Power stealing is the workaround that causes the most trouble, and it deserves a plain explanation. A thermostat without a common wire has to trickle a small amount of current through the cooling or fan circuit to charge its internal battery or capacitor, and that trickle passes through the same relay coil that controls your compressor contactor or blower. On some equipment that trickle is harmless and the system never notices, but on modern control boards with sensitive electronics, it is enough to partially energize a relay and cause the blower to hum, the fan to run in short bursts, or the outdoor unit to click on and off without ever completing a cooling cycle. Homeowners then chase the wrong problem entirely, calling about a failing compressor or a bad capacitor when the real culprit is a thermostat quietly borrowing current it was never designed to take. The symptoms are intermittent, which makes them expensive to diagnose, because everything tests fine while the technician is standing in front of it. This is why professional installers treat a real common wire as the standard rather than the upgrade.
Running new thermostat cable is the permanent answer, and in many homes it is more achievable than people expect. A run of 18 gauge, eight conductor thermostat cable from the air handler to the wall location gives you a dedicated common conductor plus spares for future equipment, humidity control, or a second stage you might add later. In a single story home with attic access above both the air handler and the thermostat wall, that run is often straightforward, and it removes every power related question from the equation permanently. Two story homes, homes with the air handler in a closet, and homes with tight wall cavities take more planning, and that is where an experienced hand matters most. If you want the wiring done correctly the first time, click here for our electrical wiring services and let a licensed electrician evaluate the path before anything gets opened up. Doing it once and doing it right costs less than doing it twice.
Heat Pump Wiring Mistakes That Derail a Smart Thermostat Installation
Central Florida runs on heat pumps, and heat pump wiring is where do it yourself smart thermostat installations go sideways most often. A heat pump uses a reversing valve to switch between cooling and heating mode, and that valve is controlled by a single conductor landing on either the O terminal or the B terminal depending on the manufacturer. Most brands energize the reversing valve in cooling mode and use the O terminal, while Rheem and Ruud equipment traditionally energizes it in heating mode and uses B. Getting that setting backward in the thermostat’s configuration menu produces a system that blows warm air when you ask for cooling and cold air when you ask for heat, which sends homeowners into a panic about a broken compressor. Nothing is broken. The thermostat is simply telling the reversing valve to sit in the wrong position, and the fix is a configuration change that takes seconds once someone recognizes the symptom.
Auxiliary heat wiring is the second heat pump trap, and in Florida it hides for months before it bites. Almost every heat pump in this region pairs with electric resistance heat strips inside the air handler, and those strips are controlled through the W, W2, or E terminals depending on the system. Because those strips barely run in a Florida summer, a miswired or misconfigured auxiliary heat connection can sit undetected from installation in July until the first cold snap in December. At that point the strips either fail to energize and leave the house cold, or they energize constantly alongside the compressor and produce an electric bill that makes the homeowner think the meter is broken. Electric heat strips commonly draw between fifteen and thirty amps or more per element on a dedicated circuit, so running them unnecessarily is not a small mistake. Setting up and verifying auxiliary heat correctly during the install is the only way to know the system will behave when the weather finally turns.
Multi stage and variable speed equipment adds another layer that a generic wiring diagram will not cover. Two stage compressors use Y1 and Y2, two stage heat uses W1 and W2, and variable speed communicating systems from certain manufacturers do not use conventional 24 volt terminal wiring at all. Communicating systems send digital data between the thermostat, air handler, and outdoor unit over a small number of conductors, and they generally require the manufacturer’s own thermostat to function. Buying a popular smart thermostat for a communicating system usually means giving up the variable speed operation you paid extra for, which defeats the purpose of the equipment. Identifying what type of system you actually have is step one, and the answer is not always printed anywhere obvious. A qualified professional will read the equipment nameplate, the control board layout, and the existing terminal assignments before recommending a thermostat model.
Transformer Capacity and Control Board Fuses in a Smart Thermostat Installation
The 24 volt control circuit in your air handler is powered by a transformer, and that transformer has a finite capacity measured in volt amps, most commonly 40VA on residential equipment. Every device on the circuit consumes a share of that capacity, including the contactor coil, the blower relay, any condensate overflow switch, zone dampers, and now the thermostat itself. A traditional thermostat consumed almost nothing, but a smart thermostat with a bright display, a WiFi radio, and occupancy sensing draws real current continuously. Add a whole house humidifier, a ventilator, or multiple zone panels to the same transformer and you can quietly exceed its rating. An overloaded transformer runs hot, sags in voltage under load, and eventually fails, taking your cooling with it on the hottest afternoon of the year. Checking the transformer rating against the total connected load is basic due diligence that almost never happens on a homeowner installation.
Control board fuses exist because low voltage shorts happen, and they happen most often during thermostat work. Nearly every modern air handler control board carries a small automotive style blade fuse rated at three or five amps protecting the 24 volt circuit. Touch the R conductor to the C conductor for a fraction of a second while the power is on, and that fuse opens instantly, killing all control power to the system. The equipment goes completely dead, the thermostat screen goes dark, and the homeowner concludes the new thermostat destroyed the air conditioner. The actual repair is a one dollar fuse and thirty seconds of work, but only if someone knows to look for it. Killing power at the breaker before touching any control wiring prevents the entire scenario, which is why professionals do it every single time without exception.
Voltage drop across long thermostat runs is a quieter issue that shows up in larger homes. Thin 18 gauge conductors running a hundred feet or more from the air handler to a thermostat mounted at the far end of the house will lose measurable voltage under load, and a smart thermostat operating near the low end of its acceptable voltage range behaves unpredictably. You see random reboots, dropped WiFi connections, screens that dim without reason, and settings that revert to defaults overnight. Homeowners blame the manufacturer and return perfectly good thermostats, then experience identical behavior with the replacement. Measuring actual voltage at the thermostat terminals under load, rather than at the transformer, is how that gets confirmed. When voltage is marginal, a heavier gauge conductor or a relocated power source solves what no amount of resetting ever will.
Smart Thermostat Placement, Surge Protection, and WiFi Performance in Florida Homes
Getting the wiring right only gets you halfway. A smart thermostat is a sensor, a radio, and a controller in one small package, and all three of those functions depend on where the device physically sits and what kind of electrical environment surrounds it. Florida presents specific challenges that homeowners in other states never think about, starting with the fact that this state sees more lightning strikes per square mile than anywhere else in the country. Add block construction that blocks WiFi signal, air handlers in unconditioned garages, and afternoon sun loading on west facing walls, and the installation details start to matter a great deal. A thermostat mounted in the wrong spot will cost you comfort and money every day it stays there. Getting placement and protection right at installation is far cheaper than correcting either one later.
Where to Mount a Smart Thermostat for Accurate Readings and Reliable Operation
A thermostat measures the air immediately around itself and assumes that reading represents the whole house, which is only true when the device sits in a location that reflects average conditions. Mounting it on an exterior wall exposes the sensor to conducted heat from outside, and in a Florida August that exterior wall can run significantly warmer than the interior of the home. The thermostat reads high, calls for cooling that the rest of the house does not need, and your system runs longer than necessary while the bedrooms turn cold. Direct sunlight through a nearby window produces the same distortion in a more dramatic way, sometimes swinging the reading five degrees or more in the middle of the afternoon. Supply registers are equally problematic, because conditioned air blowing across the sensor tells the thermostat the room reached setpoint long before it actually did, producing short cycles that wear equipment and never dehumidify properly. The best location is an interior wall, roughly five feet off the floor, in a room the family actually occupies, away from registers, doorways, kitchens, and bathrooms.
Relocating an existing thermostat is more common than people expect, and it is often the right call during a smart thermostat upgrade. Many older homes have the thermostat in a hallway near the front door, where every entry and exit pushes outside air across the sensor and every afternoon of door traffic skews the reading. Moving the device fifteen feet into a living space changes how the entire system performs, and the improvement in comfort is immediate and obvious. Relocation means running new low voltage cable to the new location and patching the old opening, which is manageable work when done by someone who does it regularly. It also gives you the chance to pull eight conductor cable and permanently solve the common wire question in the same visit. Combining the relocation with the upgrade is far more efficient than treating them as two separate projects months apart.
Remote sensors are the tool that solves placement problems you cannot fix by moving the thermostat. Most quality smart thermostats support wireless sensors placed in bedrooms, offices, or upstairs spaces, and the thermostat then averages readings or prioritizes occupied rooms based on your settings. In two story Clermont homes where the second floor runs consistently warmer than the first, a sensor in the upstairs master bedroom changes how the system responds at night and makes a genuine difference in sleep comfort. Sensors also help in homes with additions, sunrooms, or bonus rooms over the garage where a single central reading was never going to be representative. Placement of those sensors follows the same rules as the thermostat itself, away from registers, lamps, electronics, and direct sun. Used well, remote sensors deliver more real comfort improvement than any other smart thermostat feature.
Surge Protection and Smart Thermostat Survival During Florida Storm Season
Florida leads the nation in lightning density, and the corridor running through Lake, Orange, and Polk counties sits in the heart of it. A direct strike is the dramatic scenario, but the far more common cause of electronics failure is the surge that travels through utility lines, cable and internet lines, and even irrigation wiring after a strike lands somewhere nearby. Your smart thermostat is connected to the 24 volt control circuit, which connects to a transformer, which connects to line voltage, which connects to the grid. That chain gives a surge a direct path into a device with delicate electronics and no meaningful internal protection. Homeowners replace thermostats, control boards, and sometimes entire air handlers after storm season, and many of those failures were preventable. Point of use protection at a receptacle does nothing for a hardwired system, which is a distinction that catches a lot of people off guard.
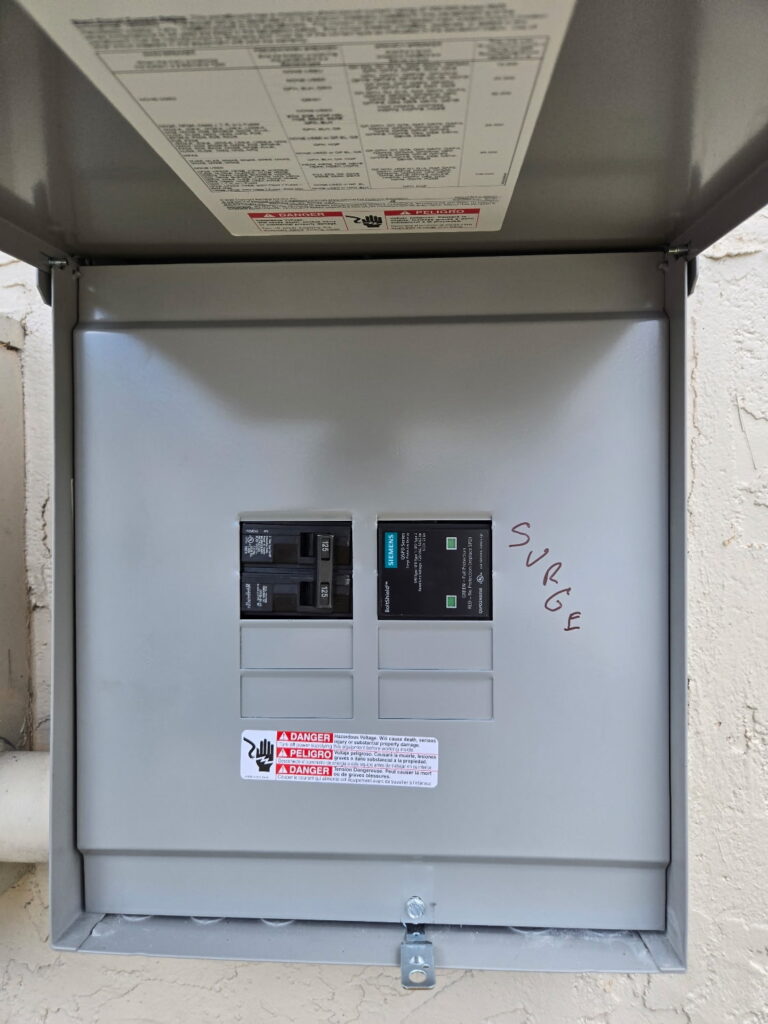
Whole house surge protection installed at the electrical panel is the correct answer for hardwired equipment. A properly sized device at the service panel clamps the incoming voltage spike and diverts excess energy to ground before it reaches the branch circuits feeding your air handler, condenser, and every other appliance in the home. It protects the equipment you cannot plug into a power strip, which in a modern home includes the HVAC system, the water heater, the range, the garage door opener, and the smart devices wired into your walls. Given what a control board or a condenser fan motor costs to replace, the economics favor protection heavily in this climate. Click here for our whole house surge protector installation if you want your HVAC electronics protected before the next round of afternoon storms. Layering a panel level device with plug in protection at sensitive electronics gives you the most complete coverage available.
Grounding quality determines how well any surge protection actually performs, and it is the part nobody thinks about. A surge protective device works by giving excess energy a low resistance path to earth, and that path is only as good as the grounding electrode system serving the home. Older homes sometimes have a single ground rod driven decades ago, corroded connections at the electrode conductor, or bonding that was never brought up to current standards. In those cases the surge device is installed and technically functional but cannot do its job efficiently, and equipment still takes damage during storms. Verifying and correcting the grounding system is part of any thorough electrical evaluation, and it benefits every circuit in the house rather than just the HVAC equipment. If you want the grounding, bonding, and panel condition checked before storm season, click here for our electrical inspection service and start with facts instead of assumptions.
WiFi Coverage and Smart Thermostat Reliability in Larger Central Florida Homes
A smart thermostat that cannot hold a WiFi connection is an expensive manual thermostat, and connection problems are among the most frequent complaints after installation. Many Florida homes are built with concrete block exterior walls, stucco over metal lath, and foil faced radiant barrier in the attic, all of which attenuate wireless signal significantly. A router sitting in a front office may put out a strong signal in the living room and almost nothing at a thermostat mounted in a hallway on the far side of the house. Thermostats generally have small internal antennas because the device is thin and wall mounted, so they are less capable than a laptop or phone at grabbing a weak signal. Checking signal strength at the intended mounting location before the install takes two minutes with a phone and prevents a frustrating week afterward. Signal problems are solvable, but only when you know they exist.
Mesh networking has made coverage problems far easier to fix than they used to be. A mesh system with nodes distributed through the home maintains consistent signal in the places single router setups never reached, including hallways, garages, and second floor bedrooms. Placement of those nodes matters as much as the number of them, and hardwired backhaul between nodes always outperforms wireless backhaul when the cabling is available. Homes with structured wiring already run to multiple rooms are excellent candidates for a hardwired mesh setup that delivers rock solid coverage everywhere. That same network infrastructure supports cameras, doorbells, smart switches, and streaming devices, so the investment pays off well beyond the thermostat. If you are building out connected devices throughout the home, click here for our smart home installation services and get the foundation right before adding more to it.
Router band configuration causes a specific problem worth knowing about. Most smart thermostats connect only on the 2.4 gigahertz band because it offers better range and wall penetration than 5 gigahertz, and many modern routers broadcast both bands under a single network name. During setup, the thermostat may fail to find or join the network at all, leaving the homeowner convinced the device is defective. Temporarily separating the bands into distinct network names, or creating a dedicated 2.4 gigahertz network for smart devices, resolves this immediately. Some newer routers also default to WPA3 security that older smart devices cannot negotiate, requiring a compatibility mode setting. None of this is difficult once you know where to look, but it accounts for a large share of returned thermostats that were working perfectly the whole time.
Why You Need a Licensed Electrician Involved in Your Smart Thermostat Installation
A smart thermostat sits at the intersection of low voltage controls, line voltage equipment, home networking, and your electrical service, and problems in any of those areas show up as thermostat problems. Homeowners who install the device themselves often succeed, and just as often end up with intermittent issues that consume weekends and never fully resolve. A licensed electrician brings meters, experience with control circuits, and the ability to correct the underlying electrical conditions that a thermostat alone cannot fix. That includes running new cable, verifying transformer capacity, adding surge protection, correcting grounding, and confirming the equipment circuits are sized and protected correctly. The goal is a system that works reliably for years without becoming a recurring source of frustration. Getting a professional set of eyes on it before you start is the least expensive step in the entire process.
What a Licensed Electrician Checks Before Any Smart Thermostat Installation
The evaluation starts at the panel, not at the wall. An electrician confirms the air handler and condenser are on properly sized, correctly protected circuits, checks for signs of overheating at the breakers and terminations, and verifies the grounding and bonding system is intact. From there the work moves to the air handler, where the transformer rating, control board condition, fuse status, and existing terminal assignments all get documented. Only then does attention turn to the thermostat location itself, where the existing conductor count, wire gauge, and available common wire determine what is possible. That order matters, because a thermostat installed on top of an underlying electrical problem simply inherits that problem. Homeowners are frequently surprised by what a thorough evaluation turns up in a home that seemed to be running fine.
Documentation is the part that pays off years later. Labeling conductors, photographing terminal assignments before disconnection, and recording the equipment model and configuration settings means the next technician who touches the system starts with facts instead of guesses. Thermostat wire colors follow convention but not law, and plenty of installations use red for common or blue for cooling because that was what was on the truck that day. Assuming color equals function is how systems get miswired, and it happens constantly. A professional traces and verifies rather than assuming. That habit turns a potentially confusing future service call into a routine one.
The evaluation also identifies opportunities you may not have considered. While the electrician is already in the panel and the attic, adding surge protection, correcting a double tapped breaker, or pulling additional low voltage cable for future sensors costs a fraction of what it would as a separate visit. Many homeowners upgrading a thermostat are also considering an EV charger, additional outlets, or a generator, and sequencing that work intelligently saves real money. Panel capacity is the common thread connecting all of those projects, and knowing where you stand informs every decision that follows. A single visit that answers multiple questions is simply more efficient than a series of disconnected service calls.
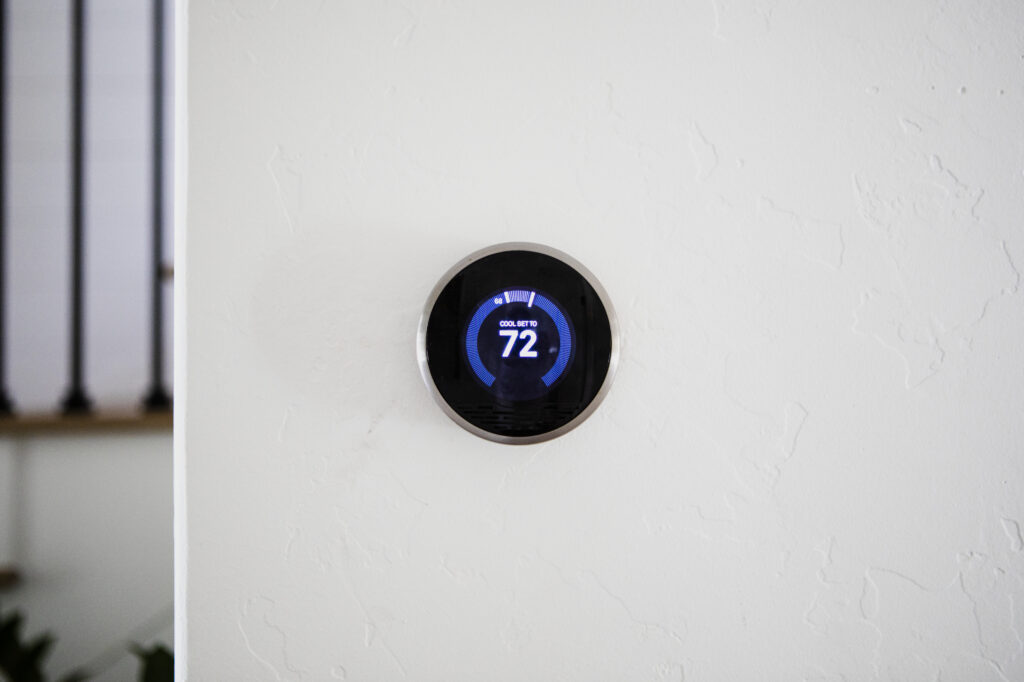
The Real Cost of a Do It Yourself Smart Thermostat Installation Gone Wrong
The failures that cost the most are the ones that do not announce themselves. A blown control board fuse is obvious and cheap, but a thermostat quietly power stealing through a relay coil causes months of short cycling that shortens compressor life and degrades dehumidification without ever triggering an alarm. Florida homes depend on long, steady cooling cycles to pull moisture out of the air, and a system cycling on and off every few minutes cools the air without drying it. The result is a house that feels clammy at seventy four degrees, which drives people to lower the setpoint and spend more on energy. None of that traces back to the thermostat in the homeowner’s mind, because the thermostat appears to be working. The bill and the humidity tell a different story.
Miswiring that energizes the wrong terminal can be more expensive still. Landing a conductor on W instead of Y on a heat pump system tells the equipment to run electric resistance heat when you asked for cooling, and those strips draw enormous current compared to the compressor. Left uncorrected through a billing cycle, that mistake produces an electric bill that dwarfs the cost of professional installation many times over. Similar errors involving the reversing valve, auxiliary heat lockouts, or fan configuration produce comfort complaints that get misdiagnosed as equipment failure. Homeowners occasionally replace working components chasing a wiring problem. Getting it right the first time avoids the entire chain of events.
Then there are the electrical conditions a thermostat installation reveals but does not cause. Loose neutral connections, undersized conductors feeding heat strips, corroded panel bus, and improper grounding all exist in Central Florida homes and all create real hazards. A homeowner working behind a wall plate has no reason to look for any of them and no meter to find them. An electrician working the same job sees the whole picture, because that is what the training is for. When something looks wrong, it gets addressed instead of covered back up. If you find yourself with a system that stopped working entirely mid project, click here for our emergency electrician service and get it handled the same day.
Why Choose Empowered Electric for Your Smart Thermostat Installation and Electrical Upgrades
Empowered Electric is licensed and insured, and our electricians work in Clermont, Winter Garden, Minneola, Groveland, Windermere, and communities throughout Lake, Orange, and Polk counties every day. We know how homes in this region are built, what the block construction and attic layouts mean for running new cable, and how relentlessly the summer load runs on Central Florida HVAC systems. That local experience shows up in the recommendations we make and the problems we catch before they become service calls. We handle the electrical side of smart thermostat projects thoroughly, from running proper low voltage cable to verifying grounding and adding surge protection at the panel. Our pricing is transparent, and you get a clear quote before any work begins.
We also believe in explaining what we find rather than just handing you an invoice. When we identify an issue at your panel, in your grounding system, or in your existing thermostat wiring, you get a plain explanation of what it means, what it will cost, and what happens if you wait. Some findings are urgent and some can be scheduled for later, and you deserve to know which is which. That approach has built long term relationships with homeowners across Lake County who call us back for every electrical project they take on. We use quality materials and proven methods because the work should still be right ten years from now.
Storms roll through Central Florida on most summer afternoons, and electrical problems rarely wait for business hours, which is why we offer 24/7 emergency service. Whether you are planning a smart thermostat upgrade, protecting your HVAC electronics from lightning, or dealing with a system that quit unexpectedly, we are ready to help. Call Empowered Electric at (352) 814-0058 or email office@empoweredfl.com to schedule an evaluation at your home in Clermont or anywhere in our service area. We will look at the wiring, the panel, and the equipment, then tell you exactly what your smart thermostat installation needs to work reliably from day one. Getting it done right the first time is always the better investment.