

How to Add Landscape Lighting That Highlights Your Fall Curb Appeal
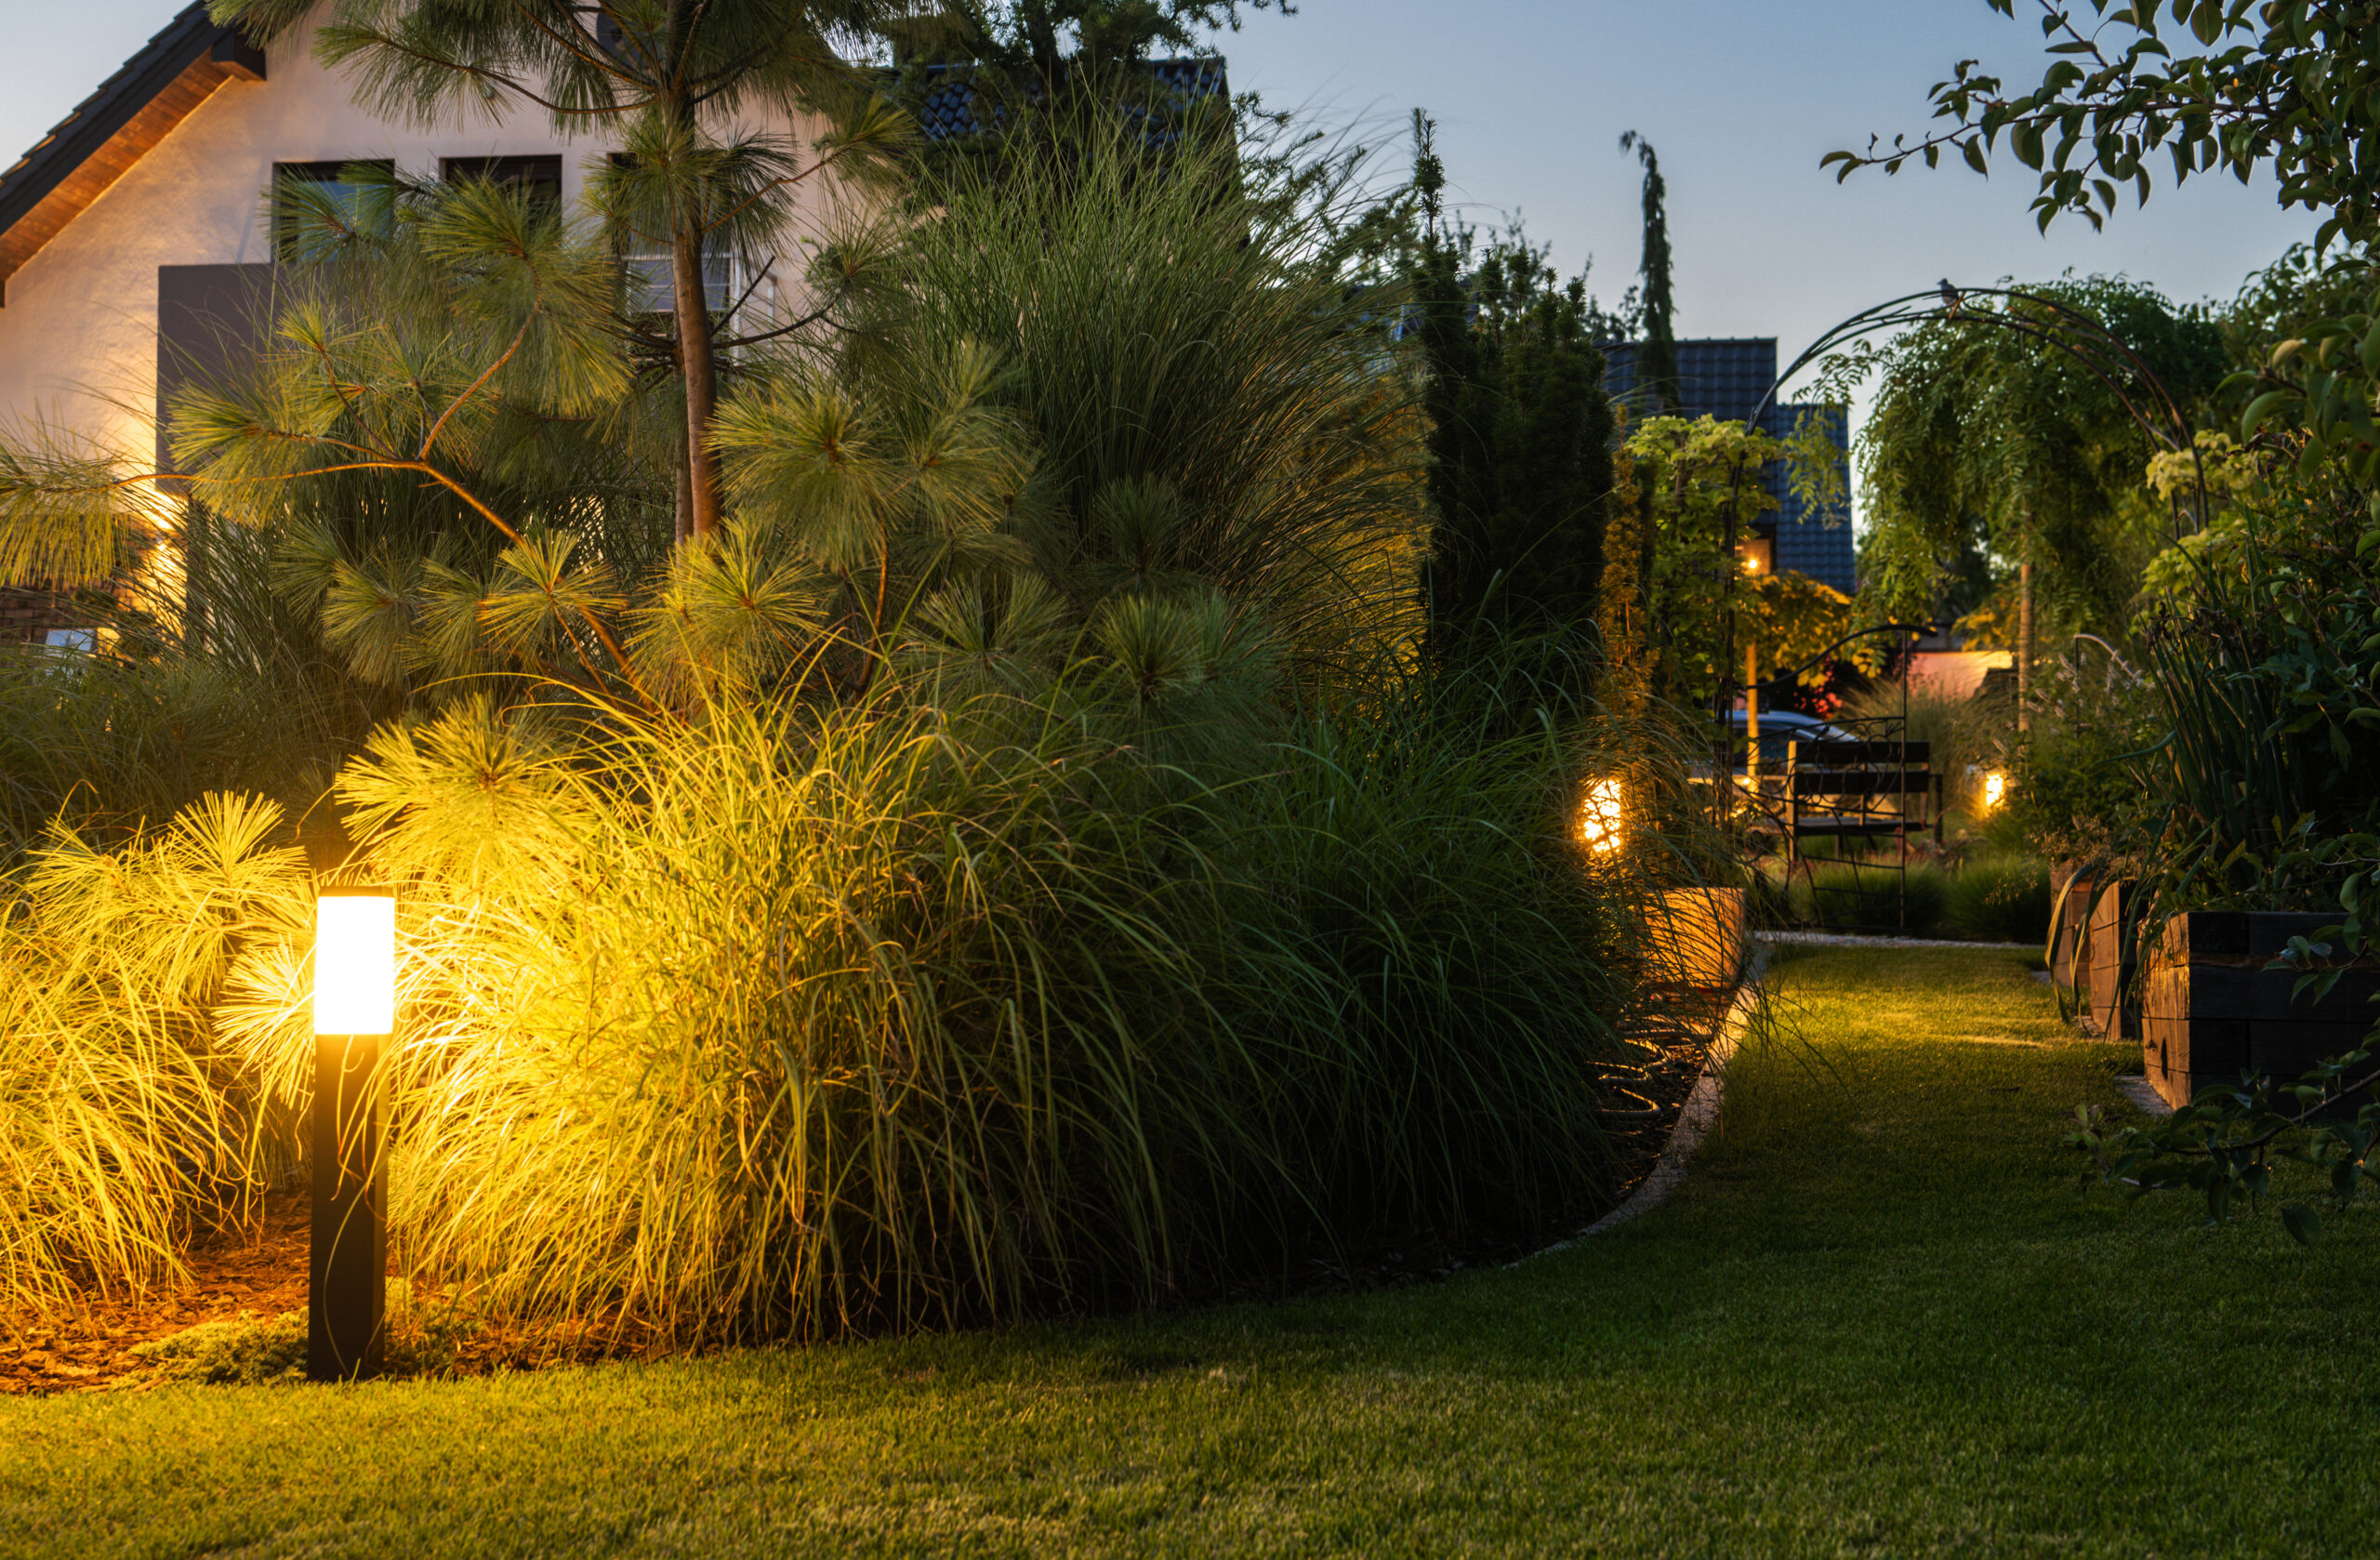
Fall in Central Florida brings shorter days, cooler evenings, and a lot more time spent outside after the sun goes down, which makes it the ideal season to rethink how your property looks after dark. Landscape lighting does more than make a yard visible; it shapes how your home reads from the street, draws attention to the features you invested in, and hides the ones you would rather not showcase. Clermont homeowners often discover that the same yard that looks flat and forgettable at 8 p.m. can look layered and welcoming with a handful of well-placed fixtures. The trick is knowing which features deserve light, how much light they need, and how to power everything safely in a climate that throws heat, humidity, and lightning at your wiring all year long. A landscape lighting plan built around your architecture and your planting beds will outperform a random string of path lights every time. Empowered Electric designs and installs outdoor lighting systems for homes across Lake, Orange, and Polk counties, and the same principles apply to a two-bedroom bungalow and a lakefront estate. This guide walks through how to plan fall landscape lighting, what each fixture type actually does, and how to keep the whole system safe and code compliant. Want to see how outdoor lighting could transform your property? Click here for our outdoor lighting installation service.
Planning Landscape Lighting That Boosts Fall Curb Appeal
Good landscape lighting starts on paper, not at the hardware store, because the fixtures you buy should answer questions you have already asked about your property. Walk your yard at dusk and note where your eye naturally lands, then note where it stops because everything past that point disappears into darkness. Those two observations tell you where the light belongs and where it would be wasted. Fall is a practical time to do this work in Central Florida since the humidity finally breaks, the ground is workable, and you still have plenty of evening hours to test your layout before the holidays arrive. Landscape lighting also carries a safety benefit that shows up immediately, since lit walkways, steps, and driveways cut down on trips and falls when guests visit after dark. A thoughtful plan balances three goals at once: highlighting the house, guiding movement across the property, and keeping glare out of everyone’s eyes. Get those three right and the fixtures themselves become nearly invisible, which is exactly the point.
Choosing Landscape Lighting Focal Points for Fall Curb Appeal
Every property has a small number of features worth lighting, and the discipline of landscape lighting is deciding which ones make the cut. Start with the front entry, since a lit doorway signals that someone is home and gives visitors an obvious target as they approach. From there, look at architectural details that carry visual weight during the day: a stone column, a gabled roofline, a covered porch, a two-story window. Those same details can carry the design at night if you light them deliberately. Mature landscaping deserves attention too, and Central Florida yards usually have at least one specimen worth showcasing, like a live oak with a broad canopy, a queen palm, or a crape myrtle that has been shaped over several seasons. The goal is not to light everything but to build a rhythm of bright spots and dark spots that leads the eye across the front of the property in a natural sweep.
Resist the urge to light the entire facade evenly, because a wall washed uniformly in light looks flat and institutional rather than warm and residential. Contrast is what makes landscape lighting look expensive, and contrast requires you to leave some areas dim on purpose. A useful approach is to pick three to five focal points on a typical suburban lot and give each one its own fixture or small group of fixtures. Everything in between can stay dark or receive only the spill from nearby lights. This restraint also keeps your fixture count reasonable, which matters when you are calculating transformer capacity and wire runs later in the project. Fewer, better-placed fixtures almost always beat a larger number of cheap ones scattered without a plan.
Fall specifically changes what looks good in a Florida yard, since seasonal color here comes from container plantings, mums, ornamental grasses, and holiday decor rather than the dramatic leaf change that northern states get. Landscape lighting can compensate by adding warmth where the plants alone will not carry the season. Warm white LED lamps in the 2700K range give foliage and mulch a rich, inviting tone, while cooler temperatures around 4000K make the same plantings look washed out and clinical. Position a couple of fixtures so they graze across textured surfaces like stacked stone, stucco, or brick, and the resulting shadows add depth that flat lighting never produces. If you plan to decorate for the holidays, think ahead about where the extra load will go so you are not running extension cords across the lawn in December. Interested in interior lighting that matches the warmth outside? Click here for our interior lighting installation service.

Mapping Landscape Lighting Layout and Power for Fall Curb Appeal
Once you know what you want to light, the next step is figuring out how power reaches each fixture without creating a mess of wire or a voltage problem. Most residential landscape lighting runs on a low-voltage system, where a transformer steps 120 volts down to 12 or 15 volts and feeds fixtures through direct-burial cable. That design is safer to work around, easier to modify later, and gentler on energy bills than a line-voltage system. The transformer needs to mount near an exterior receptacle, ideally on a wall out of sight from the street, and that receptacle must be GFCI protected and rated for outdoor use. Sketch your fixture locations on a simple site plan and note the approximate distance from the transformer to each one, because those distances drive your wire gauge and your layout method.
Voltage drop is the single most common reason a landscape lighting system disappoints its owner, and it shows up as fixtures near the end of a run glowing noticeably dimmer than the ones close to the transformer. Long cable runs and undersized wire both make the problem worse, and adding more fixtures to an existing run makes it worse still. Professional installers avoid the issue by choosing heavier gauge cable, splitting the load across multiple runs, or wiring in a hub or T-method configuration rather than daisy-chaining everything in a single line. A properly sized transformer should also leave headroom, generally loading no more than about 80 percent of its rated capacity, so you have room to add fixtures in a future phase. Getting this right at the design stage costs almost nothing; correcting it later usually means digging the cable back up.
Burial depth and cable routing matter for the long-term health of the system, especially in yards that get regular maintenance. Landscape lighting cable should be buried deep enough to stay clear of edging equipment and aeration, and it should follow predictable paths along bed lines rather than cutting randomly across open lawn. Mark your runs on your site plan and keep a copy, because the day you plant a new tree or install irrigation you will be glad to know where the wire sits. Central Florida’s sandy soil makes trenching straightforward, but that same soil shifts and settles, so connections need to be waterproof and mechanically sound rather than twisted together and taped. Silicone-filled connectors rated for direct burial are the standard for a reason. If any portion of your project requires a new exterior circuit or receptacle, that work falls under the electrical code and should be handled by a licensed electrician.
Selecting Landscape Lighting Fixtures That Survive Florida Weather
Fixture selection determines how your landscape lighting looks on day one and how it holds up three years later, and in Florida the second part deserves as much attention as the first. Heat, humidity, salt in coastal air, sprinkler overspray, and afternoon storms all attack outdoor fixtures continuously. Cast brass and copper fixtures cost more upfront but resist corrosion far better than thin aluminum or plastic, and they develop a patina rather than pitting and flaking. Look for a stated IP rating appropriate to how the fixture will be used, with in-ground and well lights needing the highest protection since they sit where water collects. Integrated LED fixtures reduce maintenance because there is no lamp to replace, but they also mean the whole fixture gets swapped when the diode finally fails, so weigh that tradeoff based on how long you plan to stay in the home.
Beam angle and lumen output are the two specifications that most directly control the look of your landscape lighting, and they are easy to get wrong. A narrow beam of roughly 15 degrees concentrates light for uplighting a tall palm or a column, while a wider 60-degree beam spreads light across a hedge or a low wall. Output should match the size of the target, since a small shrub needs far less light than a thirty-foot oak. Overlighting is more common than underlighting in residential projects and produces harsh hot spots that draw attention to the fixture instead of the feature. Many quality fixtures accept interchangeable lamps or adjustable optics, which lets you fine-tune the effect after installation rather than committing to a guess.
Glare control separates professional-looking landscape lighting from the amateur version, and it comes down to shielding and aiming. Any fixture a person can look directly into from the street, the sidewalk, or the front porch needs a hood, a glare guard, or a recessed lamp position. Aim uplights so the beam catches the trunk and canopy rather than shooting past the tree into a neighbor’s window. Path lights should throw light downward onto the walking surface, not outward into approaching eyes, and fixtures spaced too closely create a runway effect that looks more commercial than residential. Take the time to walk your property from multiple angles after the fixtures are energized and adjust anything that catches your eye directly. Small aiming corrections at night make an enormous difference in the finished result.
Landscape Lighting Techniques That Improve Fall Curb Appeal After Dark
Technique is what turns a collection of fixtures into a designed landscape lighting system, and a handful of proven methods cover nearly every residential situation. Each technique produces a specific visual effect, and combining two or three across a front yard creates the layered look that reads as professional. The methods are simple to understand but depend heavily on placement, aiming angle, and fixture output. Fall evenings in Clermont get dark early enough that you will see the results of your work by six or seven o’clock, which makes this a satisfying season to experiment. Keep the total effect balanced so no single technique dominates the view from the street. A front yard with two uplit trees, a grazed stone column, and softly lit path will always look better than one with eight identical fixtures pointed at nothing in particular.
Uplighting and Downlighting Landscape Lighting for Fall Curb Appeal
Uplighting places a fixture at or slightly below grade and directs the beam upward onto a tree, column, or wall, and it is the most recognizable landscape lighting technique in residential design. It works because it reverses the natural direction of daylight, which immediately signals that the scene is intentionally lit. For trees, set the fixture eighteen inches to three feet from the trunk depending on canopy width, then aim so the beam follows the trunk and opens into the branches. Two fixtures on opposite sides of a large tree produce a fuller effect than one, since a single source leaves half the canopy in shadow. Keep the fixtures far enough from the trunk that future growth does not swallow them, and never strap a fixture directly to a living tree in a way that girdles the bark as the trunk expands.
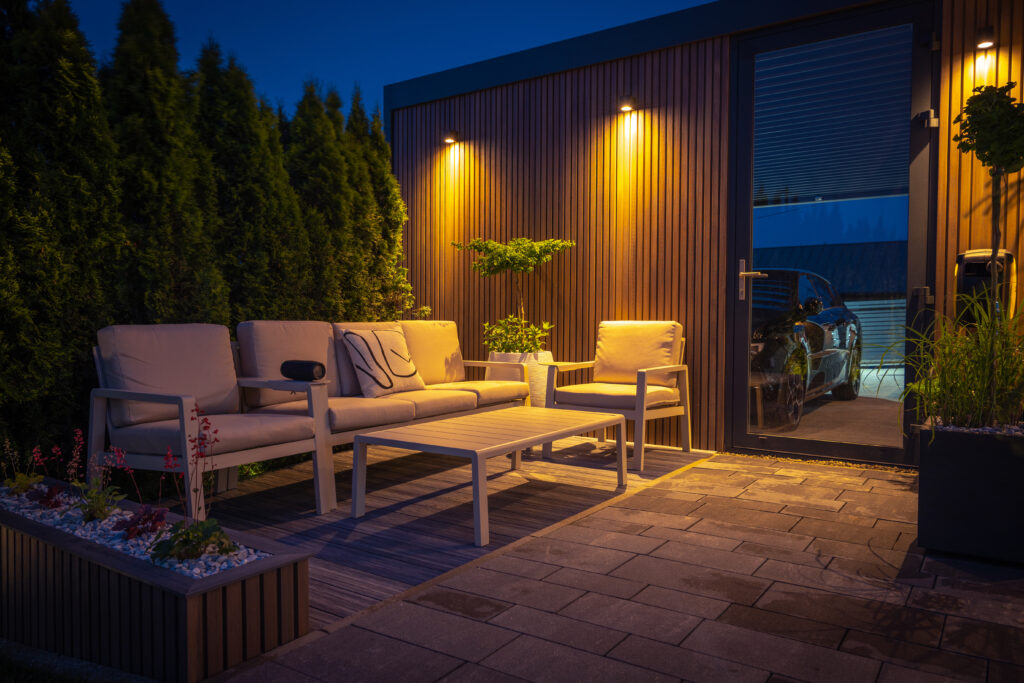
Downlighting mounts fixtures high in a tree, under a soffit, or on a wall and casts light downward, producing a softer effect that mimics moonlight filtering through branches. It is the more subtle sibling of uplighting and works especially well over patios, seating areas, and driveways where you want usable light without visible glare. Moonlighting, the version that mounts fixtures high in a mature canopy, throws dappled shadows across the ground that look completely natural. Installation is harder since it requires working at height and running cable up the trunk, but the effect is worth the effort on properties with large oaks. Combining downlighting over a walkway with uplighting on nearby plantings gives you both function and drama from the same general area.
Balancing the two techniques prevents the overlit look that plagues many suburban front yards. Use uplighting on a small number of vertical features that deserve emphasis, then rely on downlighting to handle the broad, functional illumination across gathering spaces and circulation paths. This division keeps your bright accents meaningful because there is contrast around them. It also reduces light trespass onto neighboring properties, which matters in the tighter lots common across Winter Garden, Minneola, and Horizon West. Aim every fixture deliberately and check the result from the street rather than from where you happen to be standing while you adjust it.
Path Landscape Lighting and Wall Grazing for Fall Curb Appeal
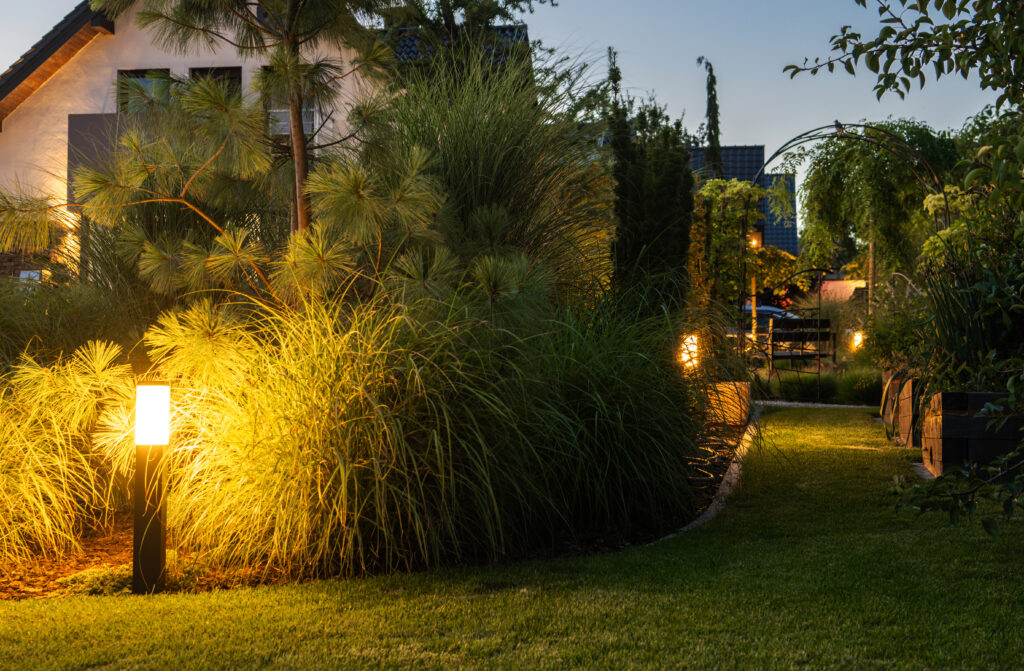
Path lighting handles the practical side of landscape lighting by making walkways, steps, and grade changes visible without turning the yard into a parking lot. The most common mistake is spacing fixtures evenly at short intervals, which produces a repetitive line of glowing mushrooms marching toward the door. Better results come from staggering fixtures on alternating sides and spacing them so their pools of light just barely touch or leave small gaps between them. Mount heights of roughly eighteen to twenty-four inches work for most residential walkways, with the lamp shielded so light goes down onto the paving. Steps and elevation changes deserve dedicated attention since those are the spots where guests actually stumble.
Wall grazing places a fixture close to a textured vertical surface and aims the beam nearly parallel to it, exaggerating every ridge and joint into a pattern of light and shadow. Stacked stone, split-face block, brick, and heavily textured stucco all respond beautifully to this landscape lighting technique. Set the fixture within about six to twelve inches of the wall for the most pronounced texture, and increase that distance if you want a gentler effect. The opposite approach, wall washing, sets the fixture farther back and produces smooth, even illumination that suits flat surfaces and painted walls. Choosing between the two depends entirely on whether the surface has texture worth revealing.
Silhouetting and shadowing round out the toolkit and cost nothing extra to achieve. Silhouetting places a fixture behind a plant or sculpture aimed at a wall, turning the object into a dark shape against a lit background. Shadowing does the reverse, lighting the object from the front so its shadow falls onto the surface behind it, which works particularly well with plants that have interesting branch structure. Both techniques add visual interest without adding brightness, which helps when you want depth in a yard that is already adequately lit. Experiment with a portable fixture before you set anything permanently, since the effect depends heavily on distance and angle.
Controls and Timing for Landscape Lighting That Maintains Fall Curb Appeal
Controls determine when your landscape lighting operates, and the right setup means you never think about the system again after installation. Astronomical timers calculate sunset and sunrise for your location and adjust automatically through the year, which matters in fall when sunset moves earlier by several minutes each week. Photocells offer a simpler alternative that switches on when ambient light drops, though they can be fooled by shading or accumulated dirt on the sensor. Many modern transformers include both options along with the ability to run separate zones on different schedules. Splitting your system into zones lets you keep path lighting on all night for safety while accent lighting shuts off at eleven.
Smart controls extend the same idea by putting your landscape lighting on your phone or integrating it with a broader home automation system. That means adjusting schedules from anywhere, setting scenes for entertaining, and pairing outdoor lights with security cameras or motion sensors. Some systems allow dimming, which is genuinely useful because a system set at full output for a party can drop to forty percent for a quiet weeknight. Color-adjustable fixtures let you shift to seasonal tones for holidays without swapping hardware, though restraint applies here as much as anywhere else. Any smart control tied into your home network should be installed so the wiring meets code and the transformer remains accessible for service. Thinking about connecting your outdoor lighting to a smart system? Click here for our smart home installation service.
Maintenance keeps the system performing, and fall is the natural time to do it before holiday decorating begins. Clean lenses of the film that Florida humidity and sprinkler minerals leave behind, since a hazy lens can cut usable output dramatically. Re-aim fixtures that irrigation, mowing, or plant growth has knocked out of position, and trim back foliage that now blocks a beam that was clear in spring. Check that connections remain sealed and that no cable has worked its way to the surface where a mower could catch it. Test the transformer, verify the GFCI receptacle feeding it still trips and resets properly, and replace any failed lamps so the overall balance of the design stays intact.
Why You Need a Licensed Electrician for Landscape Lighting Installation
Landscape lighting sits at the intersection of design and electrical work, and the electrical half carries real consequences when it is handled carelessly. Outdoor circuits face moisture, corrosion, buried cable, and Florida’s relentless lightning activity, all of which the National Electrical Code addresses through specific requirements for GFCI protection, wiring methods, burial depth, and fixture listings. A licensed electrician knows those requirements, pulls permits where the work calls for them, and installs a system that passes inspection and performs for years. Homeowners who tackle the design themselves often still need professional help for the power side, particularly when a new exterior circuit or receptacle is involved. Empowered Electric handles complete landscape lighting projects and also partners with homeowners who want to be involved in the creative decisions. Either way, the wiring gets done right.
Safety and Code Compliance in Landscape Lighting Installation
The electrical code requires GFCI protection for outdoor receptacles precisely because water and electricity in the same space create shock hazards that ordinary breakers will not catch. A landscape lighting transformer plugged into an unprotected exterior outlet is a code violation and a genuine risk, especially in a yard with irrigation. Licensed electricians verify that protection exists, install it when it does not, and make sure the receptacle has a weatherproof in-use cover rated for the application. They also confirm that fixtures and cable carry listings appropriate for wet locations and direct burial rather than repurposed indoor components.
Buried cable introduces its own set of rules, and depth requirements exist to protect the wiring from shovels, edgers, and aeration equipment. A professional installation routes cable along predictable paths, protects it where it passes under hardscape, and uses connectors designed to stay sealed in wet soil rather than wire nuts wrapped in tape. Those details do not show in the finished look, which is exactly why they get skipped by inexperienced installers. They show up later as intermittent failures, corroded connections, and sections of the system that simply stop working after a heavy rainy season.
Lightning deserves particular respect in Central Florida, which sees more strikes per square mile than nearly anywhere else in the country. Outdoor wiring and connected smart controls can carry surges into the house, damaging equipment well beyond the light fixtures themselves. Whole-house surge protection paired with proper grounding gives your landscape lighting and everything else in the home a meaningful layer of defense. A licensed electrician can evaluate your existing grounding and bonding while designing the lighting system. Concerned about storm damage to your electrical system? Click here for our whole house surge protector service.
Electrical Capacity Considerations for Landscape Lighting Installation
Adding a landscape lighting system means adding load, and that load has to fit within what your existing electrical service can handle. Most low-voltage systems draw modestly, but homes that have accumulated a pool pump, an EV charger, a hot tub, and expanded outdoor living space can find themselves closer to capacity than the owner realizes. A licensed electrician performs a load calculation rather than guessing, then confirms the panel has both the amperage and the physical breaker space for a new circuit. That evaluation takes very little time and prevents the frustration of discovering the problem mid-project.
Older homes across Clermont and the surrounding communities sometimes still run on panels that were adequate decades ago and are not adequate now. Signs include breakers that trip when several loads run together, lights that dim when large appliances start, and panels with no open slots left. Landscape lighting is rarely the thing that pushes a panel over the edge, but it is often the project that reveals an existing shortfall. Addressing capacity before adding circuits protects everything else connected to the system.
If an upgrade turns out to be necessary, doing it during a landscape lighting project is efficient since the electrician is already on site and already understands your home’s needs. A modern panel with adequate capacity supports future additions like generators, EV chargers, and pool equipment without another round of work. It also improves safety by replacing aging breakers and outdated equipment that may no longer perform as designed. Need more capacity for your home’s growing electrical demands? Click here for our electrical panel upgrade service.
Why Choose Empowered Electric for Your Landscape Lighting Installation
Empowered Electric is a licensed and insured electrical contractor serving Clermont and the surrounding Lake, Orange, and Polk county communities, and our electricians bring real field experience to every landscape lighting project. We design systems around your property rather than pulling a template off a shelf, which means walking the yard with you, identifying the features worth highlighting, and building a layout that fits your home and your budget. Our pricing is transparent, so you receive a clear and honest quote before any work begins and there are no surprises when the invoice arrives. We use quality materials and proven installation methods because a landscape lighting system should still look good and work correctly years after we leave.
Our team serves homeowners throughout Clermont, Winter Garden, Windermere, Minneola, Groveland, Montverde, Horizon West, Ocoee, Davenport, and the surrounding areas, and we understand the specific challenges Central Florida weather creates for outdoor electrical work. We also offer 24/7 emergency service because electrical problems do not schedule themselves around business hours. That responsiveness applies to existing customers and new ones alike. When something goes wrong, you want a licensed electrician who answers the phone.
Fall is the right time to plan and install landscape lighting, with pleasant working conditions, early sunsets to showcase the results, and the holidays close enough that a finished system pays off immediately. Empowered Electric can handle the entire project from design through installation, or step in to manage the electrical work while you handle the creative choices. Reach out to discuss your property, get a straightforward quote, and see what thoughtful outdoor lighting can do for your home. Call Empowered Electric at (352) 814-0058 or email office@empoweredfl.com to schedule your landscape lighting consultation today.